Most beginners who message me think they need a five-hour Saturday session to make any progress. They picture a quiet studio, the perfect playlist, a fresh pad of paper, and a finished portrait by sunset. Then Saturday comes, life gets in the way, the pad stays clean, and another week passes without a single line drawn.
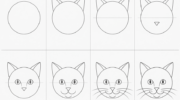
Twelve years of drawing have taught me something a little stubborn: the artists who actually grow are the ones who do small things every day. A quarter of an hour, a sharpened pencil, the same handful of drills. That’s where the gains live. So this is the routine I’d hand to anyone asking for the most useful starting point — nine simple drawing exercises for beginners, organised into a fifteen-minute schedule, with no special supplies and no shortcuts.
– Ophelia Loom, art blogger
Why short, daily drawing practice beats marathon sessions
Think about how musicians warm up. A pianist who plays scales for ten minutes every morning will run circles around the one who locks themselves in a practice room for six hours every other Sunday. Drawing works the same way. The skill lives in your nervous system, not in any particular session, and a nervous system rewards little, frequent visits much more than rare, intense ones.
There are really two threads to weave: hand control, which is about getting your pencil to land where you want, and observation, which is about seeing what’s actually in front of you instead of the cartoon your brain stores. Most of the drills below pull on one thread, and the last few braid them together. If you’d like a fuller tour of the underlying ideas before practising, my drawing fundamentals hub covers them in depth.
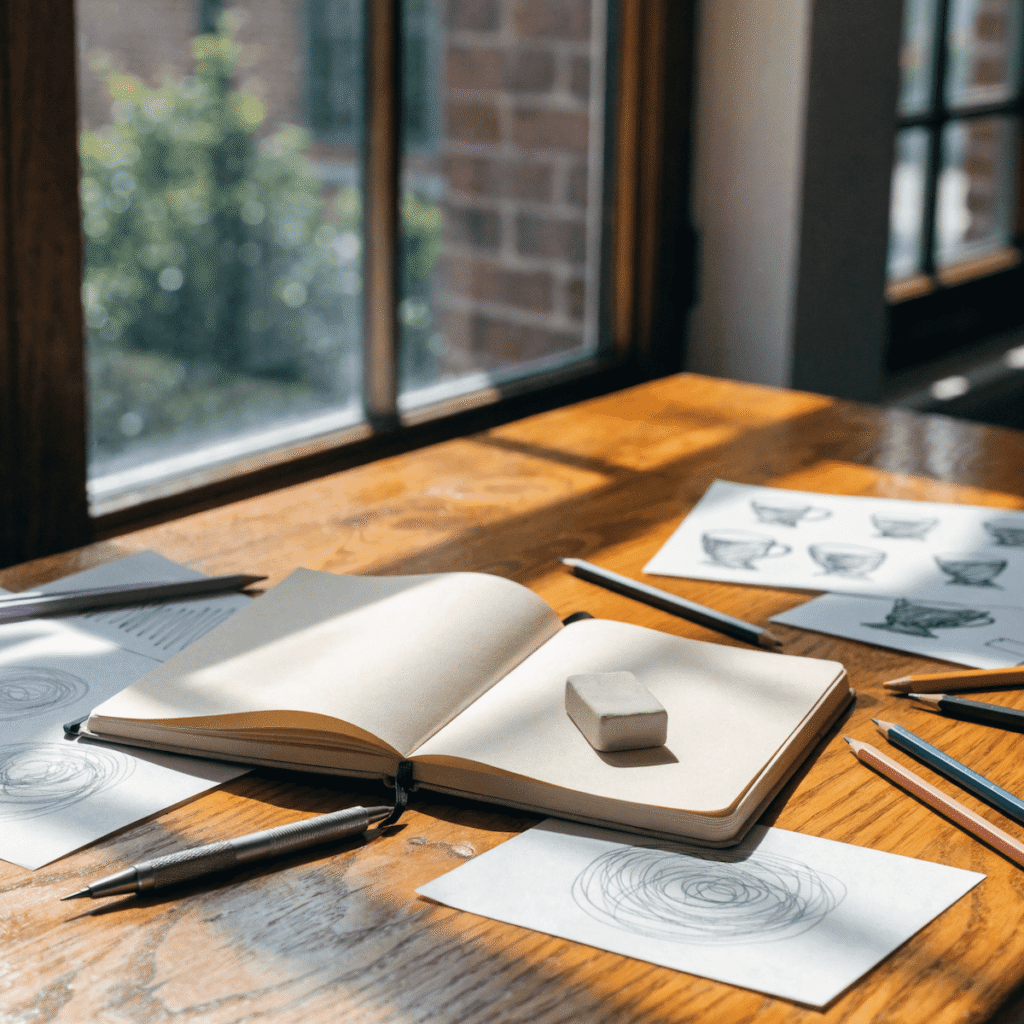
The kit you actually need
One of the kindest gifts you can give your beginner self is a refusal to over-buy. The drills below need three things and a timer:
- A graphite pencil between HB and 2B. HB is firmer and stays sharp; 2B is softer and more forgiving. If you only own one, pick 2B.
- A plain sketchbook. A5 or A4, around 90–100 gsm, smooth-ish paper. Cheap is good — you want to fill pages without flinching.
- An eraser. Kneaded if available, but any rubber will do for warm-ups.
- A timer. The clock on your phone is the whole “system.”
Skip the deluxe twenty-pencil sets, the textured Bristol pads, the leather-bound notebooks. Buy them later, after you’ve already filled a sketchbook. You’ll know what you actually want by then.
Track A — Hand drills (the first 5 minutes)
The opening block is purely mechanical. You are not making art here. You’re tuning your wrist, forearm, and shoulder so they stop fighting you. Don’t look for beauty in these pages; look for repetition.
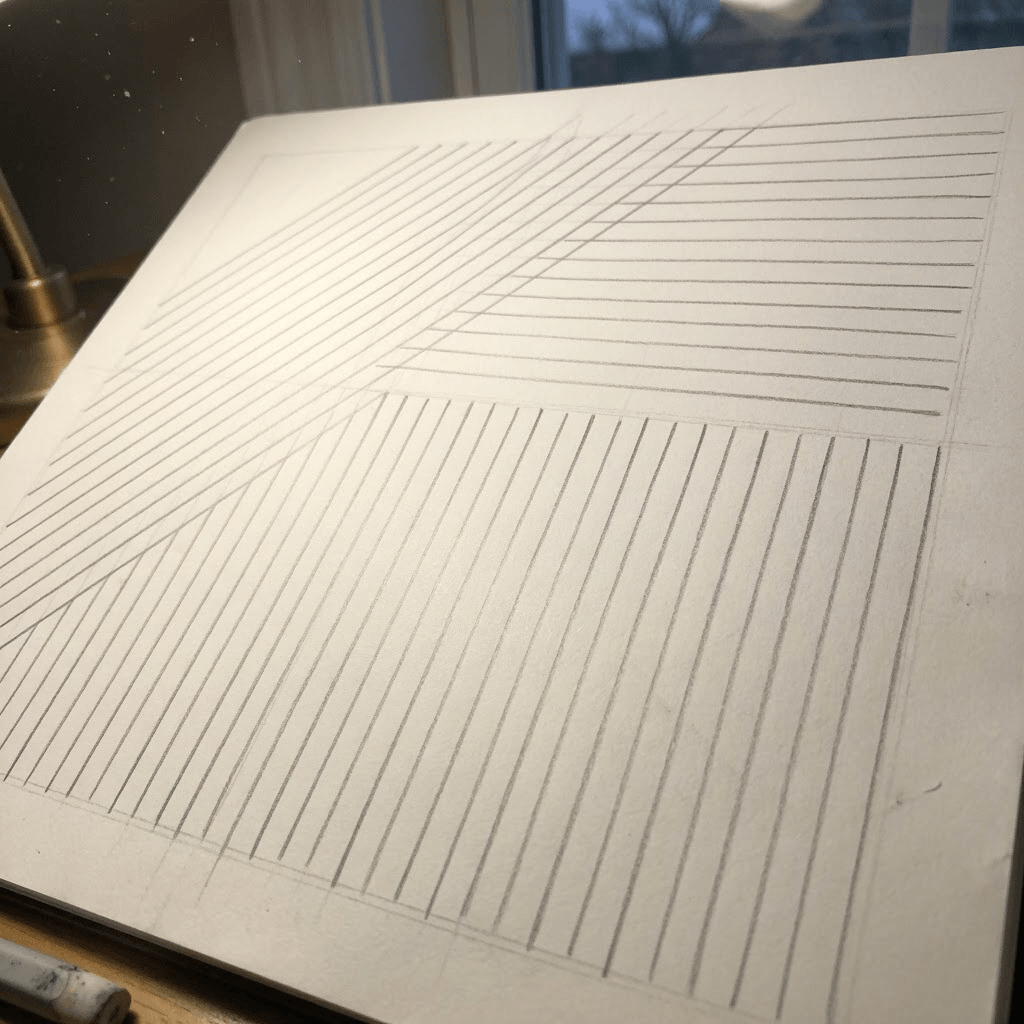
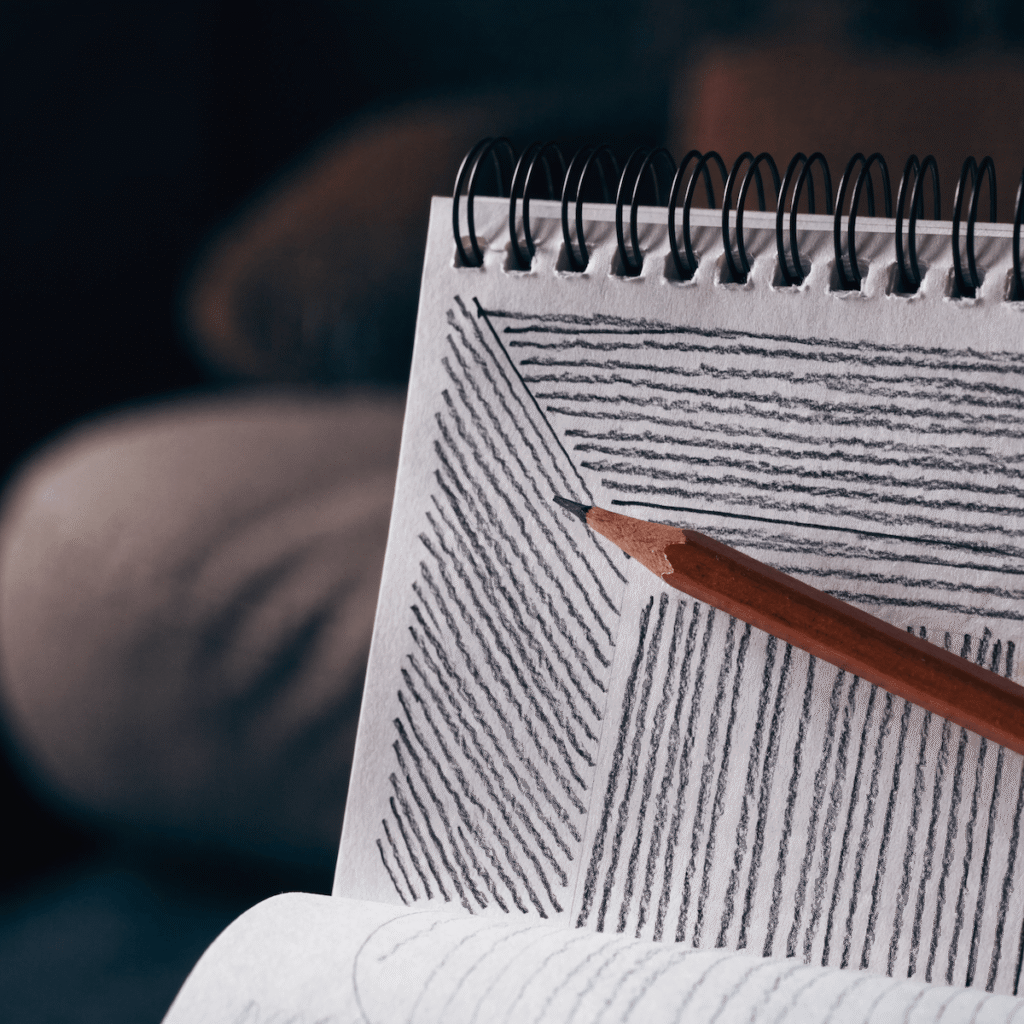
Drill 1: The parallel-lines page
Take a quarter of a page and fill it with straight, parallel pencil lines. Begin with diagonals — they sit naturally with the swing of the wrist. Move on to horizontals, then verticals. Each line goes down in a single committed stroke; no ruler, no pausing halfway, no second pass. Keep the spacing as even as you can manage.
This is duller than it sounds, and that dullness is a feature. You’re feeding your forearm a steady rhythm. Within a fortnight, the wobble that crept into your lines on day one will be visibly smaller.
Drill 2: The circle field
Cover a fresh page with circles in many sizes — from small as a thumbnail to wide as your fist — without any of them overlapping. Draw each one in a single continuous loop. Then flip the rotation: clockwise on one half of the page, counter-clockwise on the other.
Big circles are surprisingly hard because they recruit the shoulder, not the wrist. Tiny ones are hard because they expose every micro-tremor. Both are excellent. After a month of these, eyes, apples, and wheels will stop terrifying you.

Drill 3: The ellipse staircase
Draw a vertical column of horizontal ellipses, top to bottom. The topmost is a flat sliver. Each one below it gets slightly rounder, until the bottom ellipse is almost a full circle. Repeat the column three or four times across the page.
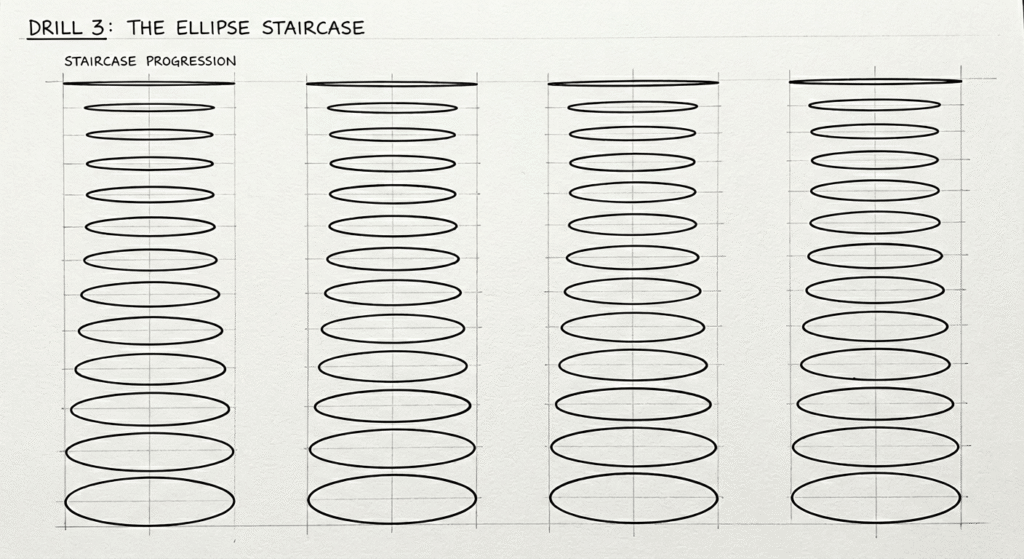
Here’s a quiet trick I learned the hard way: instead of trying to nail the shape on the first pass, loop your pencil around the ellipse twice in one motion before lifting. The second loop smooths out the bumps in the first. Cups, eyes, wheels, and tabletops all live or die on ellipses, so this drill pays back enormously.
Track B — Eye drills (the next 5 minutes)
This is the block most beginners want to skip, because the pages look uglier afterwards. It’s also the block that quietly does the heaviest lifting. You’re retraining the way you see, and that’s the upgrade your future drawings will benefit from most.
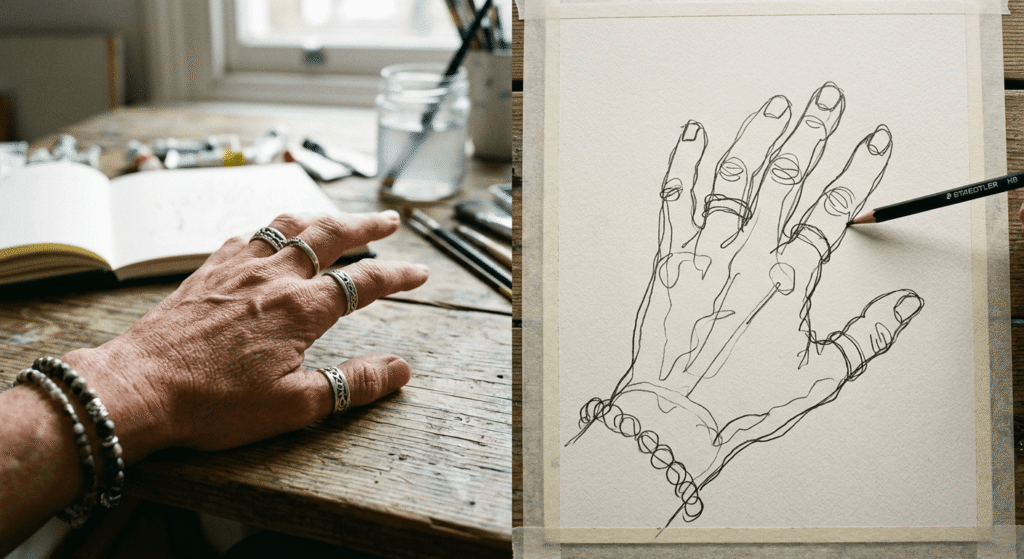
Drill 4: Blind contour
Pick something with interesting edges — your own non-drawing hand, a houseplant, a crumpled coffee receipt. Look only at the object, never at your paper. Set your pencil down, and trace what you see in one slow, unbroken line. Move your eyes along the contour at the exact pace your pencil moves.
What you produce will look unhinged. That is the entire point. Blind contour isn’t aiming for an accurate drawing; it’s a workout for the link between your eyes and your hand. Once you stop policing the page, your observation gets sharper almost immediately. The classical contour drawing tradition has been making this argument for over a century, and it still holds.
Drill 5: Unbroken-line drawing
Same idea as blind contour, but with a small concession: you’re allowed to glance at the page. The rule that stays: the pencil never lifts. Pick a small object — a mug, a pair of scissors, a houseplant — and trace it in one snaking line, retracing edges as needed.
This drill teaches you to plan a route through a subject, and to make peace with messy, layered contours. Once you’ve let go of the need to nail every line on the first try, your “real” drawings start improving without you actively trying.
Drill 6: Drawing the gaps
Find an object with interesting empty space around it — a wooden chair, a bicycle, a houseplant in front of a wall. Now ignore the object entirely. Draw only the empty shapes: the triangles between chair legs, the slivers between leaves, the negative spaces between rungs.
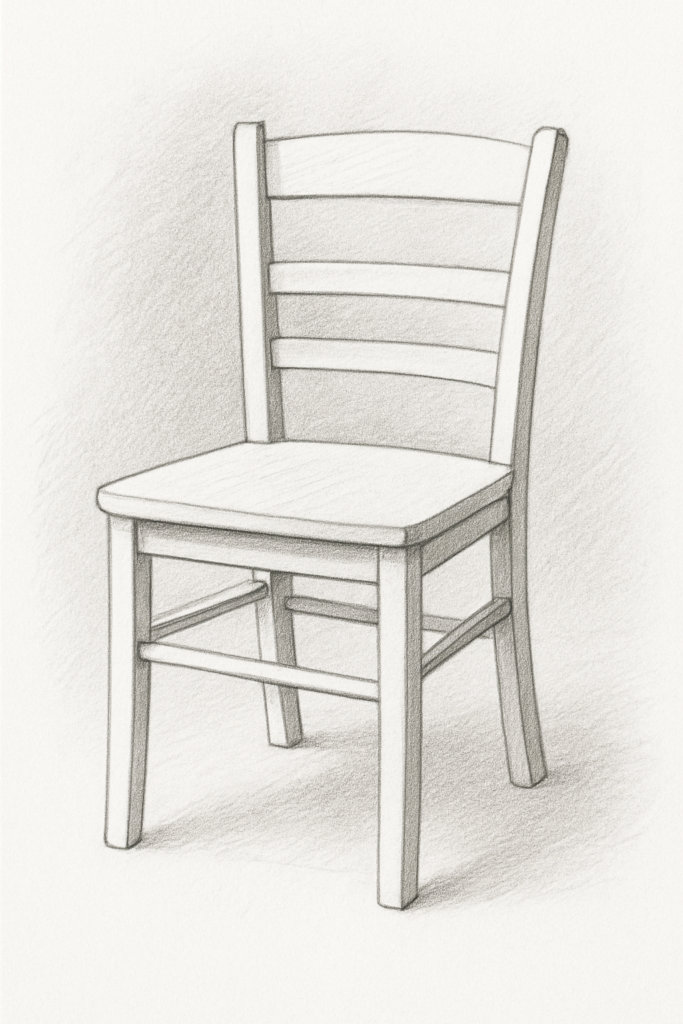
If you stick to the rule, the object will appear all on its own, defined by what isn’t there. This is the most reliable proportion-fixer I know. Your brain has a thousand stored opinions about what a chair should look like, and zero opinions about the gap between two rungs — so it stops auto-correcting your drawing into a chair-shaped lie.
Track C — Putting it together (the final 5 minutes)
The last block braids hand and eye into something that finally looks like real drawing. Quick, expressive, observed. The pages here will start to feel rewarding.
Drill 7: 30-second poses
Set a timer for 30 seconds. Pick a pose — someone walking past a window, your dog napping, a paused frame in a film. Capture only the movement: the long sweep of the spine, the tilt of the shoulders, the line of action through the legs. Forget faces. Forget fingers. Just the energy.
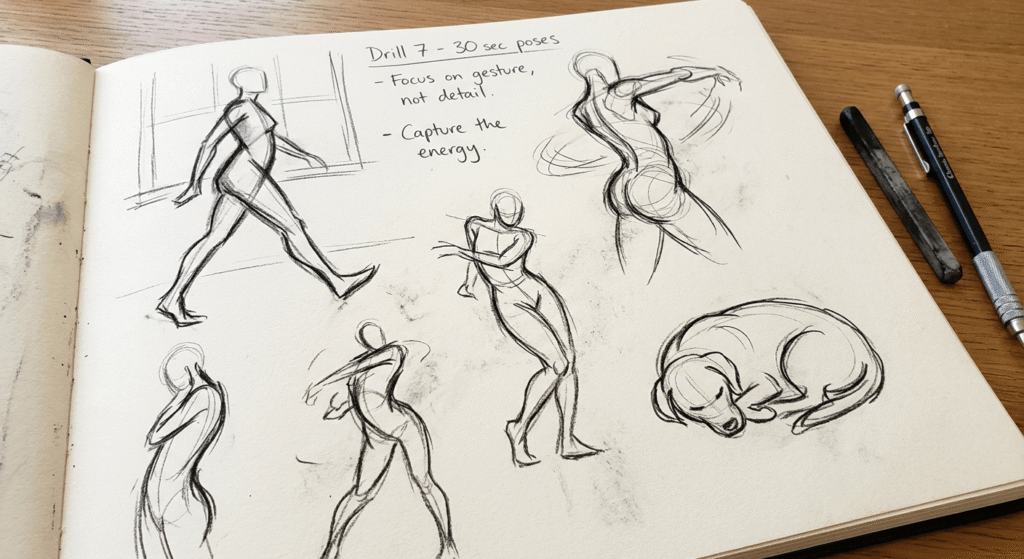
Stack six of these in a row and you’ll have packed three minutes with more honest looking than most beginners manage in an hour. Speed kills perfectionism; perfectionism is what stops most beginners from improving in the first place.
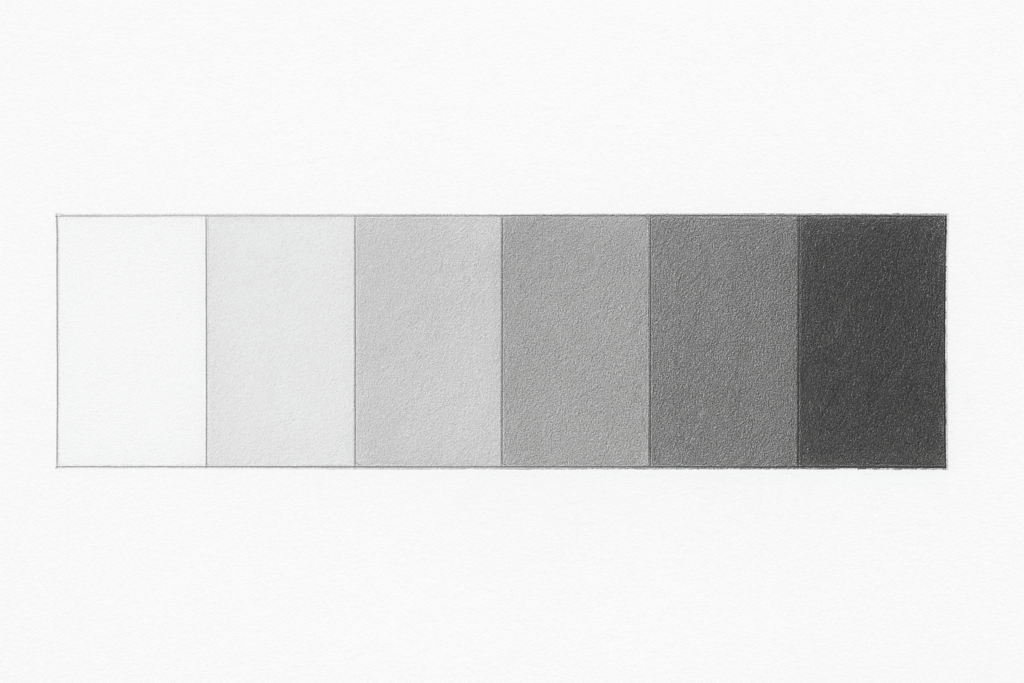
Drill 8: The value strip
Draw a long rectangle and divide it into six equal cells. Fill the first cell with the lightest visible graphite tone you can manage. Make every cell after it noticeably darker than the one before, ending in the deepest black your pencil can press out. The shading inside each cell should be flat — no patches, no streaks.
This is value control in concentrated form, and value is the most undersold skill in pencil drawing. A piece with confident lights, mids, and darks reads as “real” even when the proportions wobble. If you want to dive deeper, my guide to pencil shading walks through hatching, cross-hatching, and blending in detail.
Drill 9: The two-minute object
Set one object on your desk — an apple, a mug, a stapler, anything. Set the timer for two minutes. Draw the thing. Look at it more than at the page. Don’t erase. When the timer chirps, stop, no matter where you are.
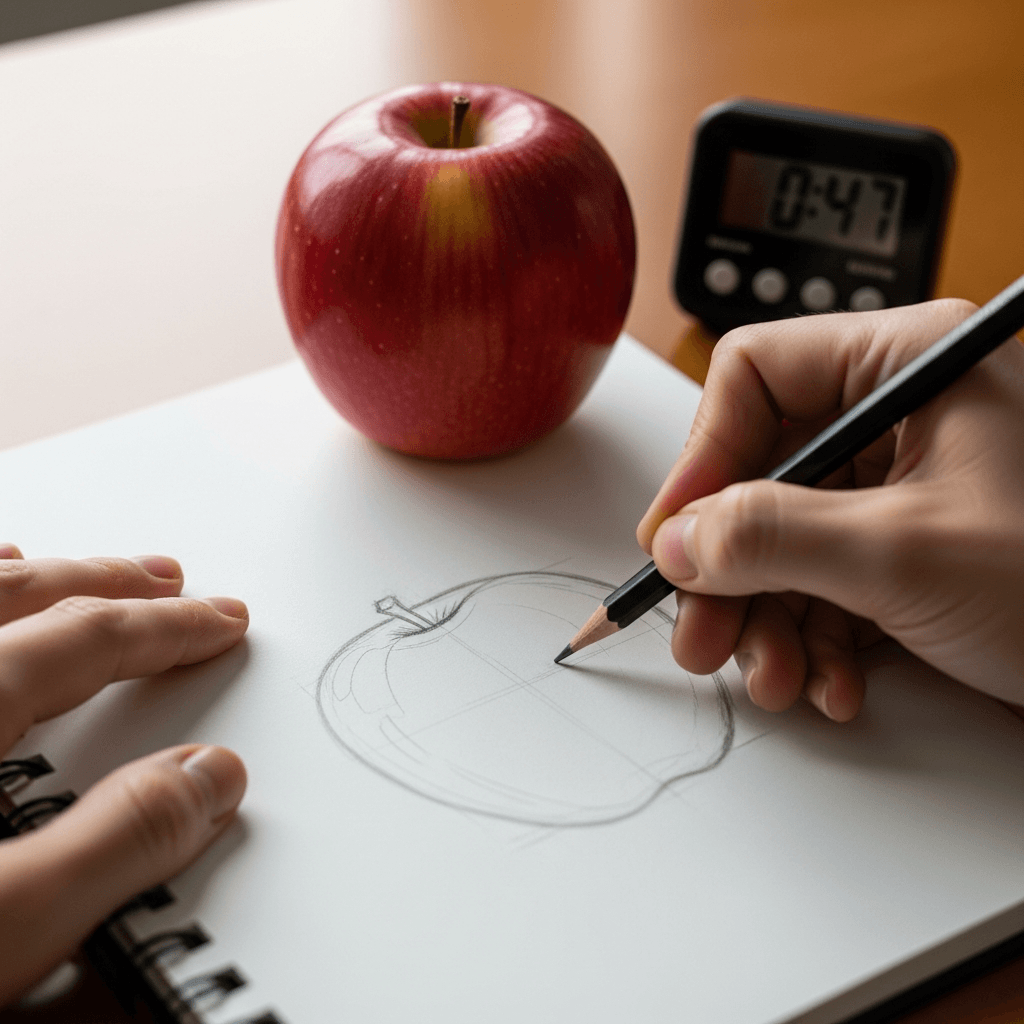
This combines everything from the previous twenty-five minutes of the week: line confidence from the hand drills, observation from the eye drills, and value control from the strip. It also produces a small finished thing, which feels good. Date it. In three months you’ll flip back through your sketchbook, see the dates, and quietly grin.
The 15-minute schedule
Here’s the actual block-by-block split I run almost every morning, with a cup of earl grey nearby and Maple curled up at my feet.
| Minute | Drill | What it builds |
|---|---|---|
| 0–1 | Parallel lines | Wrist rhythm, pressure consistency |
| 1–3 | Circle field | Closed-shape control |
| 3–5 | Ellipse staircase | Perspective intuition |
| 5–7 | Blind contour | Eye–hand sync |
| 7–9 | Unbroken line OR drawing the gaps | Pure observation |
| 9–11 | Value strip | Tonal range |
| 11–13 | 30-second poses (4×) | Speed and looseness |
| 13–15 | Two-minute object | The drills, applied |
You don’t need to run every drill every day. The hand block stays constant; rotate the eye block (blind contour Monday, unbroken line Wednesday, gaps Friday). On busy days, do only the first five minutes — even a short hand block keeps your skill from drifting back.
Mistakes I made so you don’t have to
A small collection of traps I fell into in my first year, and that I see students hit on repeat:
- Erasing during warm-ups. The point of warm-ups is to draw confidently and let imperfect lines exist. Erasing breaks the rhythm and signals that the lines need to be “right.” They don’t.
- Drawing too small. Beginners squeeze their work into one corner of the page. Use the whole sheet. Bigger movements come from your shoulder, not your fingertips, and your shoulder is where smoothness lives.
- Skipping Track B. The eye drills look messier than the hand drills, so beginners drop them first. They’re the most valuable block in the routine. Don’t.
- Doing two hours on Sunday and zero on Monday. Fifteen minutes a day, for thirty days, beats two hours a week, every week. I’d rather you do five minutes and stop than skip altogether.
- Comparing today’s drill page to a finished portrait online. The only honest comparison is between your page today and your page last month. Everything else is a confidence ambush.
A simple progress hack
Date every page. That is the entire system. Don’t grade yourself, don’t post every page, don’t buy a tracker app. Once a month, flip back four weeks and look at the difference. Improvement is invisible day-to-day and obvious at thirty-day chunks.
If you want a small extra challenge, pick one subject — let’s say an apple — and do a quick two-minute version of it once a week for three months. Lay them side by side at the end. It’s the cheapest motivation hack I know, and the visual proof is hard to argue with.
FAQ
How quickly will I see progress from these drawing exercises?
If you put in fifteen minutes a day, your lines will steady noticeably within two weeks. Cleaner observation — meaning more accurate proportions and shapes — usually shows up around the six-to-eight-week mark. Confident shading and gesture take longer, often a few months, but they compound once they arrive.
Can I run these drills on a tablet instead of paper?
Yes, the drills translate cleanly to a stylus and any drawing app, and the reps still build coordination. That said, I’d steer absolute beginners toward paper for the first month or two — the friction of pencil on paper teaches pressure control much faster than a smooth screen does.
Which pencil should I warm up with?
HB or 2B will cover almost everything. HB stays sharper and works well for the line and circle drills; 2B is softer and reads better on the value strip and gesture sketches. If you can pick up just one, take a 2B. A 4B or 6B is helpful when you reach for the deepest end of the value strip.
I already draw a few hours a week. Are these still useful?
Very much so. Working artists keep these in rotation as warm-ups, the same way pianists keep running their scales. Fifteen minutes of drills before a real session leaves your hand calibrated and your eyes alert.
What if I miss a day or three?
Miss them. Open the sketchbook the next morning. Streaks are a productivity-app gimmick — they’re not how skill actually works. The only failure mode is quitting completely.
Where to go from here
Once these drills feel automatic, you’re ready to point them at real subjects. A few natural next steps:
- Run the drills through a finished tutorial — my how to draw a rose walkthrough is a forgiving first project that uses the value control you’ve been building.
- Build a sketchbook habit on top of the warm-ups — the drawing ideas hub has prompts sorted by skill level.
- Round out the theory side — the basics hub covers proportion, perspective, and light and shadow with the same friendly tone.
That’s the whole plan. Nine small drawing exercises for beginners, fifteen minutes, one notebook, no shopping list. Don’t overthink it — open the page, start the timer, and let your hand find its way. Week one will feel awkward, week two will feel oddly satisfying, and by month two you’ll have forgotten you ever struggled with circles. ✨
— Ophelia Loom, art blogger