Hi there! I’m Ophelia Loom from Art of Pencil, and today we are going to draw a wonderful Christmas cat together. Grab your HB pencil and a sheet of paper, because we will create this festive kitty in just 8 simple steps. Let’s bring this holiday drawing to life!
Your Step-by-Step Christmas Cat Lesson
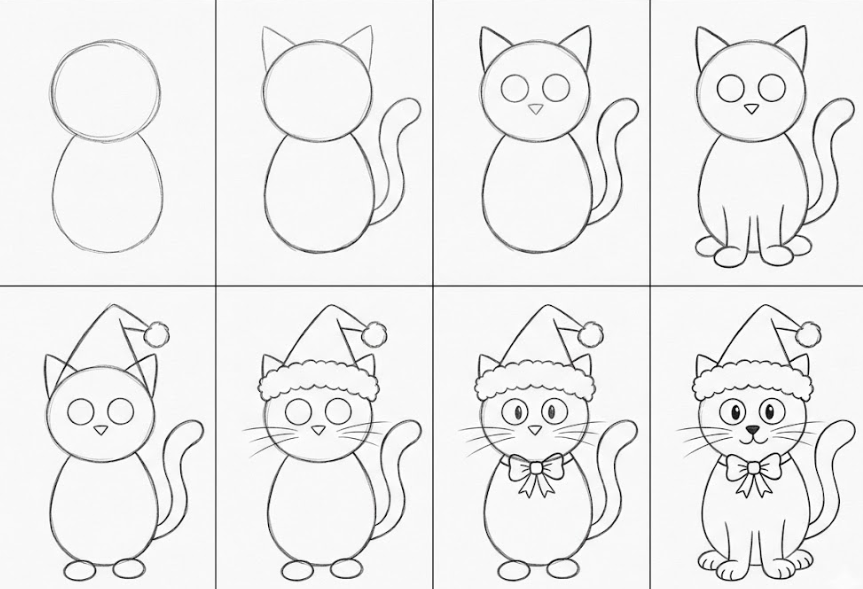
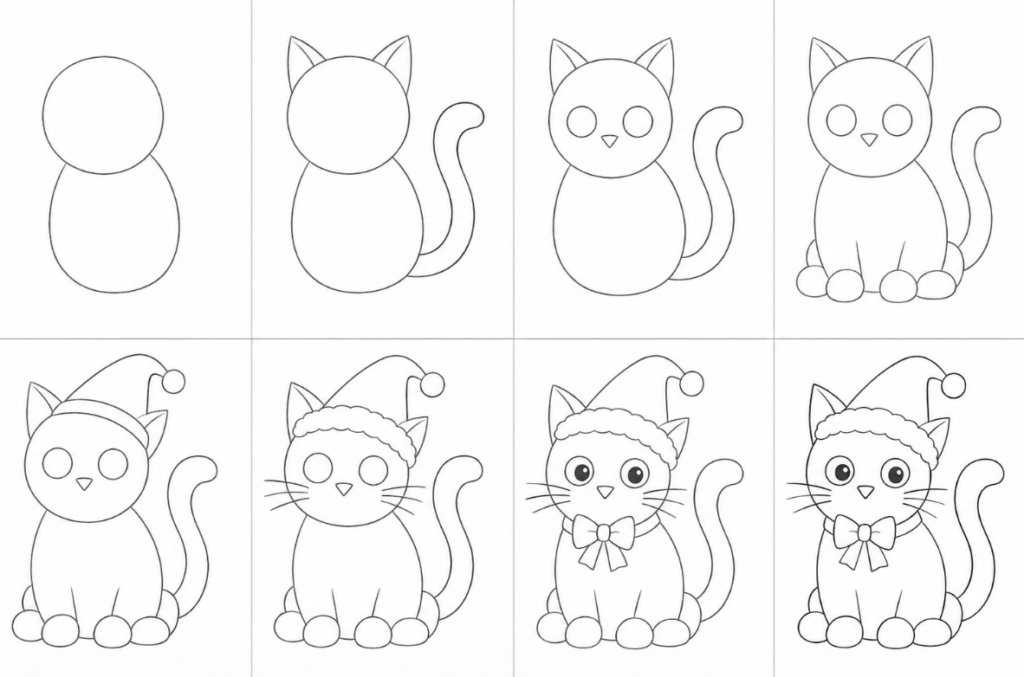
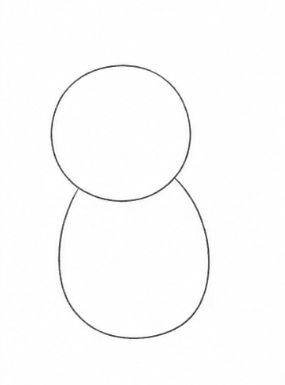
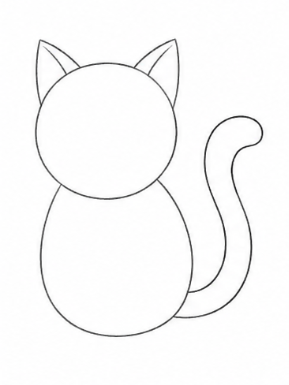
Step 1: Base Shapes
First, let’s sketch a large, clean circle for the cat’s head. Right below it, connect a bigger oval to form the main shape of the body.
Step 2: Ears and Tail
Now, add two simple triangles on top of the head to create the ears. Then, sketch a long, gracefully curved line extending from the back for the tail.
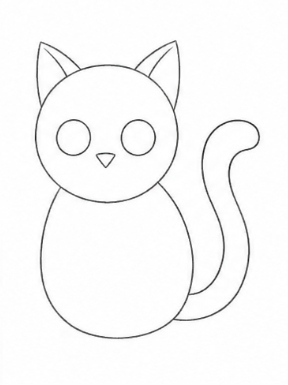
Step 3: Facial Features
Let’s draw the face by adding two large circles for the eyes. Right between and slightly below them, place a tiny triangle for the nose.
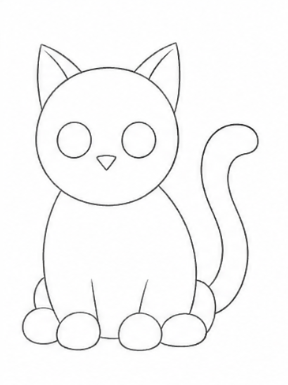
Step 4: The Paws
At the bottom of the oval body, sketch four simple, neat ovals. These will serve as the cat’s resting paws.
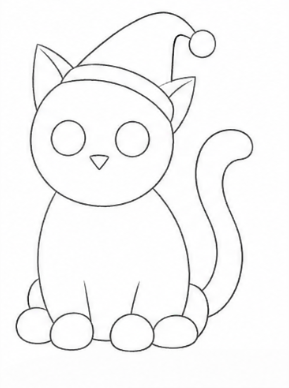
Step 5: Christmas Hat
On top of the head between the ears, draw a tall triangle to start the holiday hat. Finish it by placing a small, round circle right at the tip for the pompon.
Step 6: Hat Trim and Whiskers
Add a soft, fluffy trim at the base of the hat where it meets the head. Then, draw a few quick, straight lines on each side of the nose for whiskers.
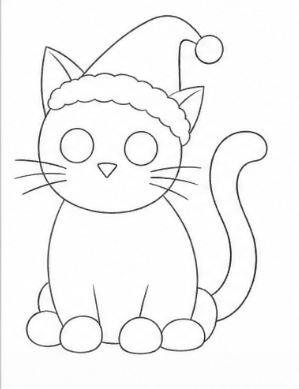
Step 7: Final Details
Draw smaller circles inside the eyes for the pupils to give the cat life. Finally, add a little festive bow or collar right around the neck.
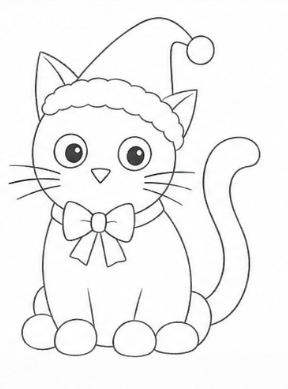
Step 8: Clean Contour
To finish our artwork, carefully trace over your favorite lines to create a clean, crisp outline. Gently erase any extra, overlapping pencil marks so your holiday cat looks neat.
Keep Creating with Art of Pencil
You did a fantastic job drawing this holiday kitty! Every sketch you finish builds your skills, so keep your pencil moving and try practicing this shape a few more times. Keep creating, stay inspired, and I will see you in our next drawing session!
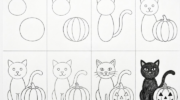
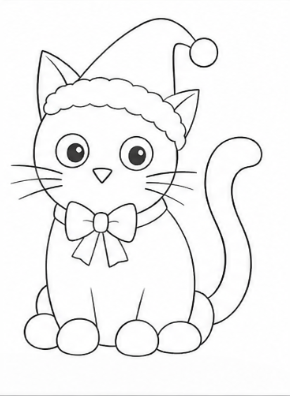
Another Way to Draw a Christmas Cat