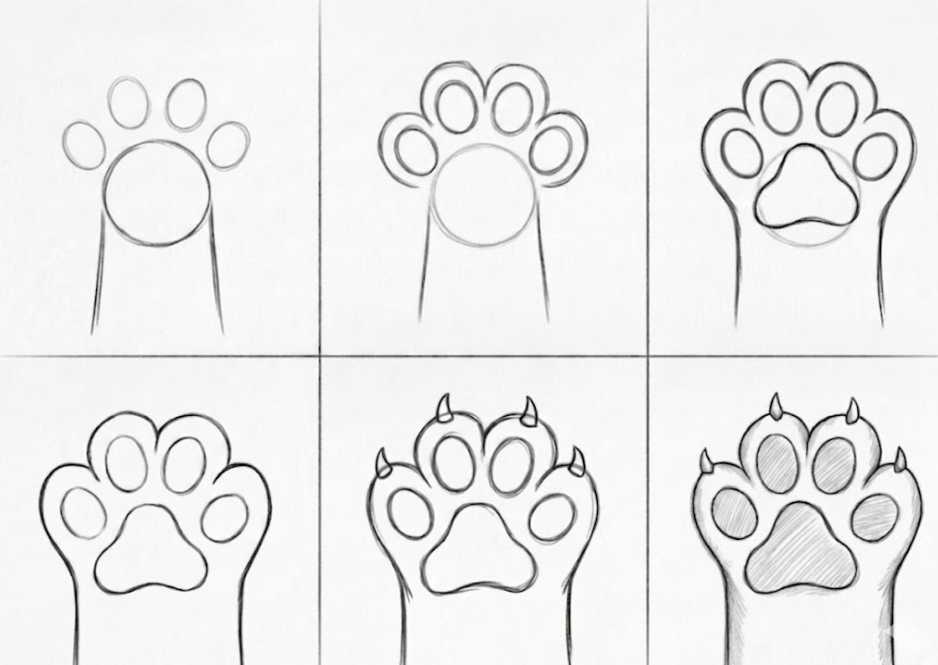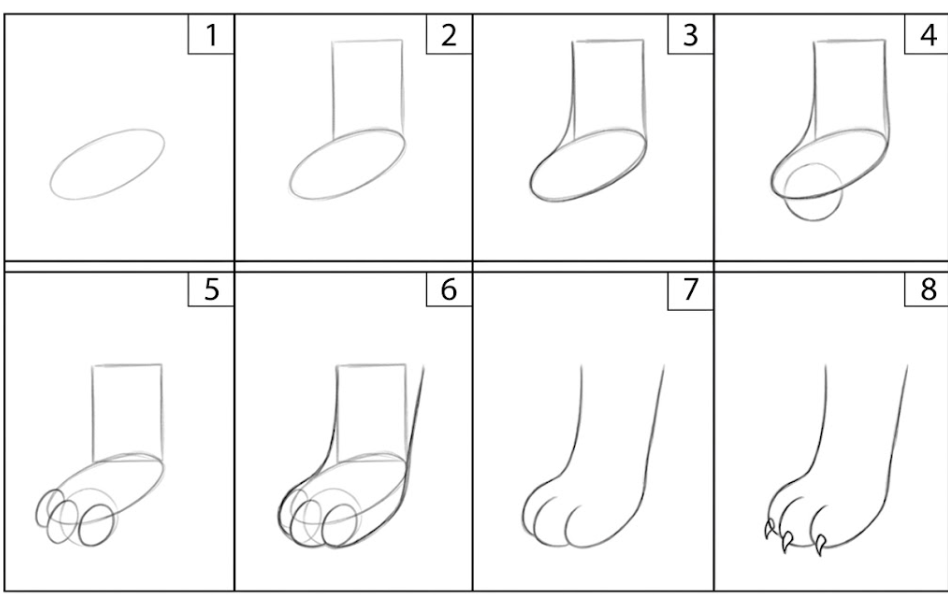
Grab your favorite pencil and let’s draw a charming cat paw together! We will use just 8 simple steps to bring this sketch to life in pencil. Since this is an easy guide, you’ll find it perfectly suited for a quick creative break.
Cat Paw Drawing Tutorial
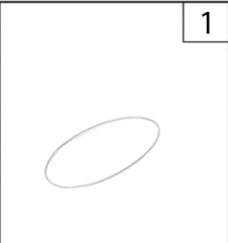
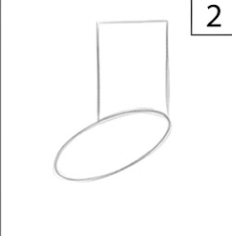
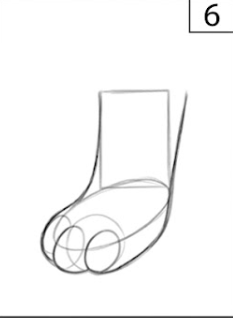
Step 1: The Base Shape
We start by sketching a tilted oval to represent the main structure of the foot. Keep your lines light so we can refine them later.
Step 2: Adding the Leg
Draw a simple vertical rectangle extending upward from the oval. This serves as the foundation for the cat’s lower leg.
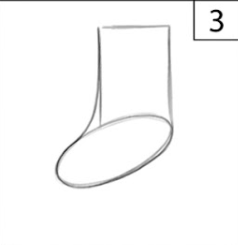
Step 3: Connecting Lines
Let’s use smooth, curved lines to join the rectangle and the oval. This creates a natural transition from the leg to the paw.
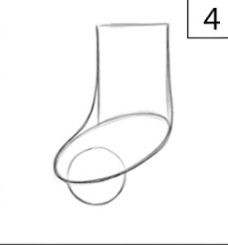
Step 4: The Main Pad
Add a small semi-circle at the bottom front of your oval. This represents the large central pad of the paw.
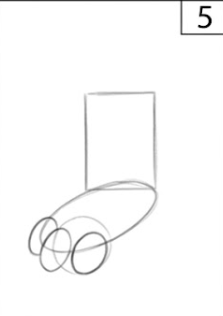
Step 5: Defining Toes
Place two small ovals at the very front of the paw. These simple shapes will become the visible toes of our cat.
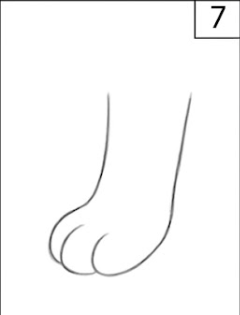
Step 6: Smoothing the Contour
Now we trace over our geometric shapes with one continuous, flowing line. This unites the separate parts into a realistic paw silhouette.
Step 7: Cleaning the Sketch
Gently erase the internal construction lines and overlapping marks. Your drawing should now look clean and professional.
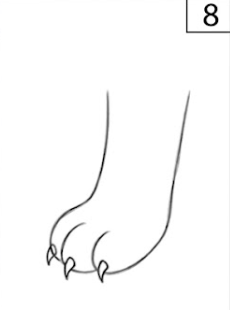
Step 8: Final Details
Add tiny, sharp points at the tips of the toes to indicate the claws. Our beautiful cat paw is now complete!
Keep Practicing with Ophelia Loom
I’m so proud of the work we did today at Art of Pencil. The best way to improve is to keep sketching every day, so don’t stop here. Practice these shapes a few more times, and you’ll see your confidence grow with every stroke!
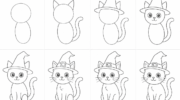
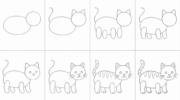
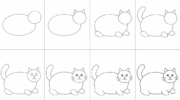
Another Way to Draw a Cat Paw