Let’s grab an HB pencil and start drawing together! We’ll create a brave warrior cat in 8 clear steps, from simple shapes to a clean final outline.
Cat Tutorial
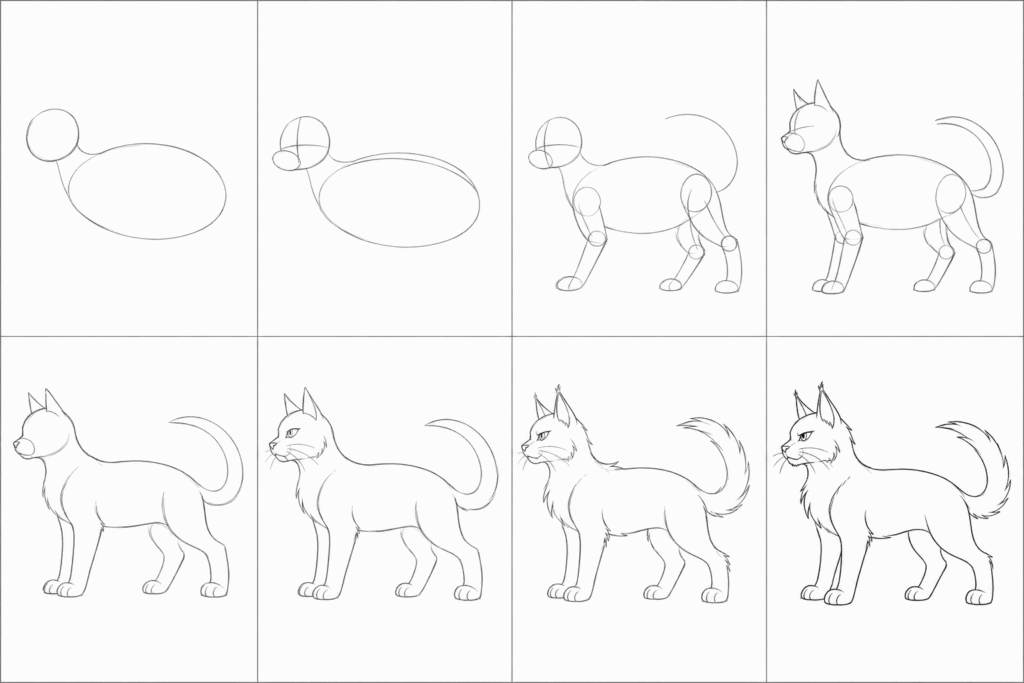
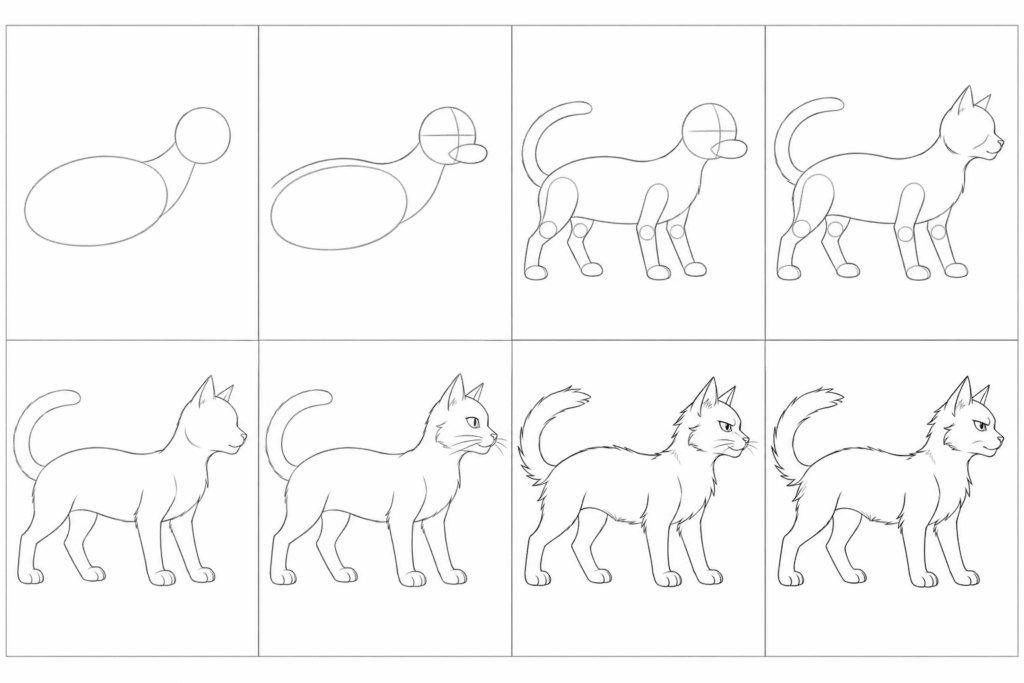
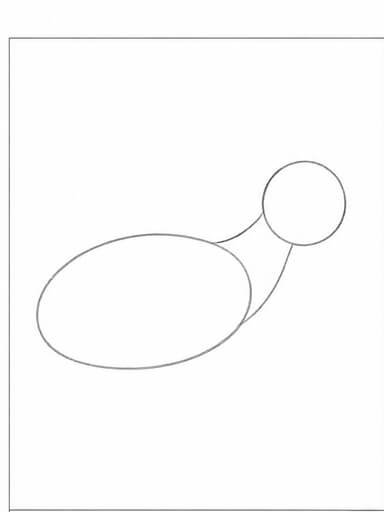
Step 1: Basic Body Shapes
Draw a large oval for the body and a smaller circle for the head from the side. Connect them with a short neck line.
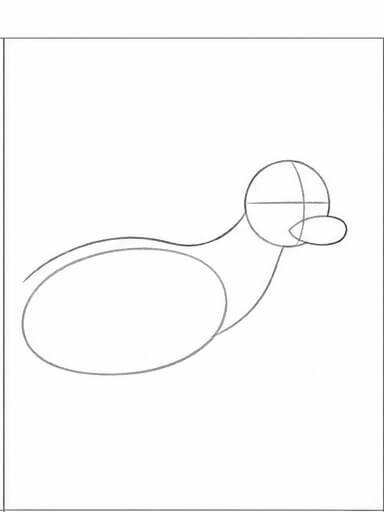
Step 2: Add Guidelines
Sketch a light cross guideline on the head and a gentle curve for the spine. Add a small oval to shape the muzzle.
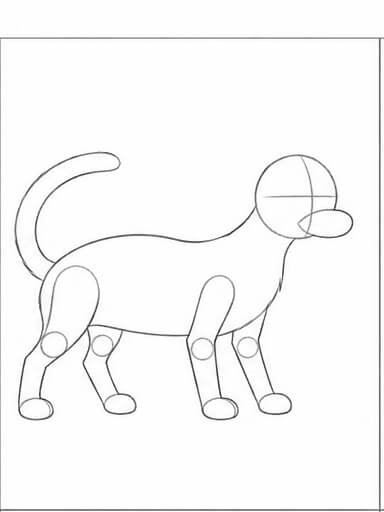
Step 3: Build the Legs and Tail
Use simple cylinders for the legs and small circles for joints. Draw the tail as a long curved line.
Step 4: Shape the Head
Turn the circle into a cat head by adding triangle ears and a clearer jawline. Smooth the connection from head to neck.
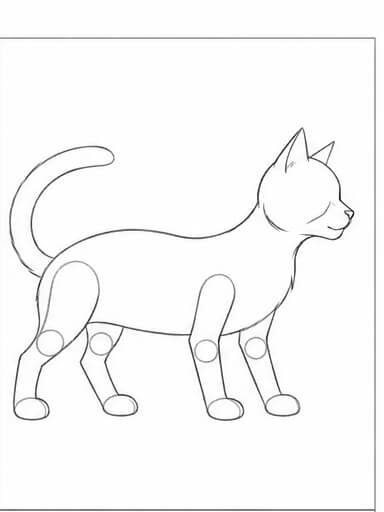
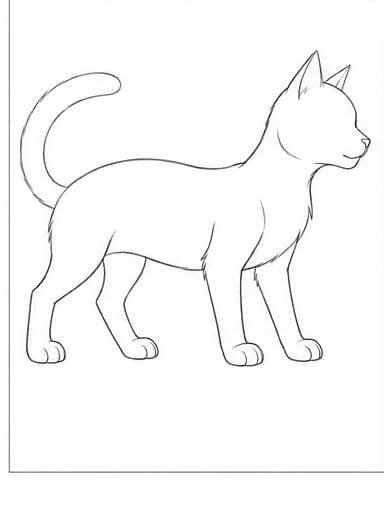
Step 5: Refine the Body Outline
Clean up the torso shape by defining the chest, back, and belly line. Thicken the legs and shape the paws.
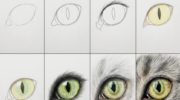
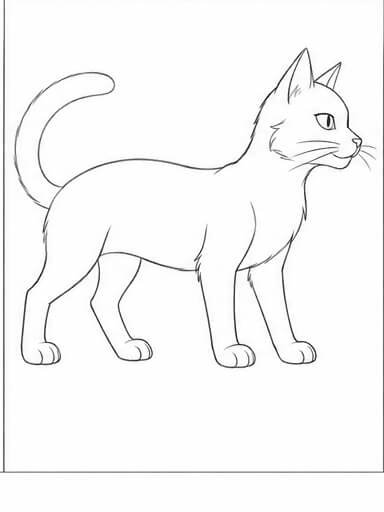
Step 6: Draw the Face Details
Add an almond-shaped eye, a small triangle nose, and a short mouth line. Sketch a few whiskers for expression.
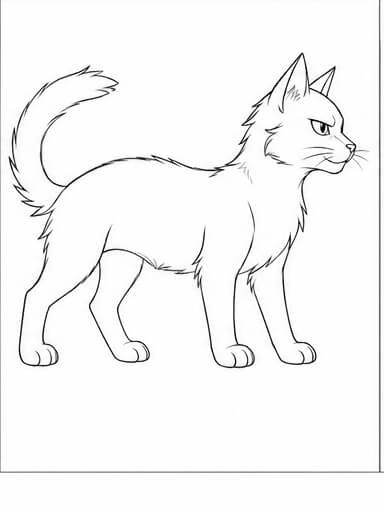
Step 7: Make It Look Like a Warrior
Sharpen the ear tips slightly and give the cat a strong posture. Add a few simple fur lines on the cheeks, chest, and tail.

Step 8: Final Clean Outline
Erase extra guidelines and redraw the full contour neatly. Keep the warrior cat crisp and bold, with clean paws, tail, and fur edges.
Conclusion
Now we have a proud warrior cat drawn in pencil, step by step! Keep practising these shapes, and soon we’ll be drawing whole cat clans with different poses and personalities.
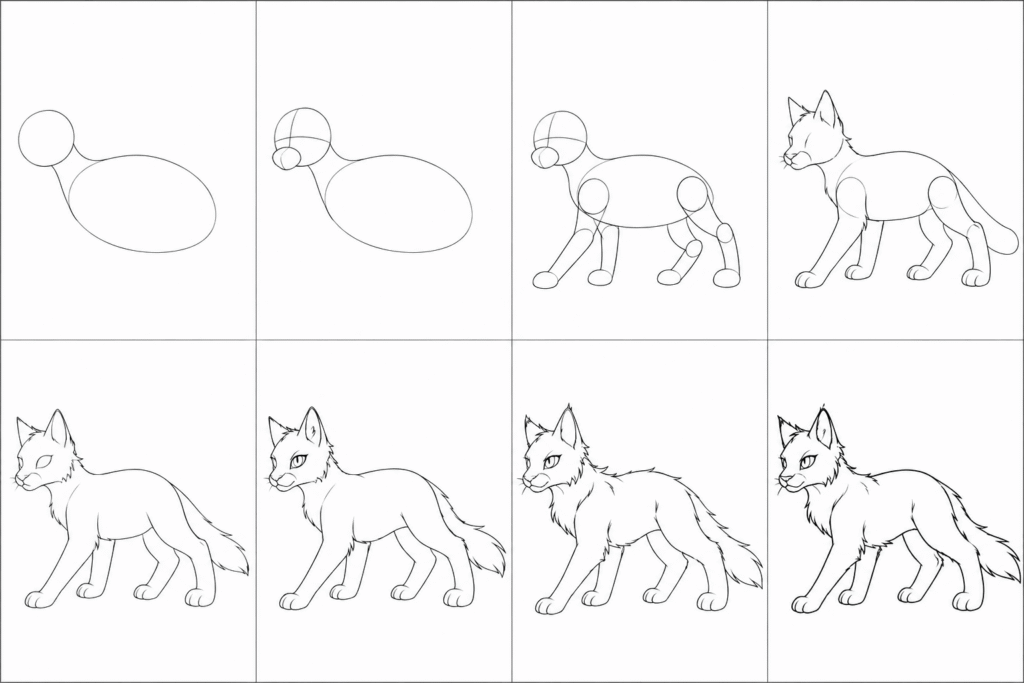
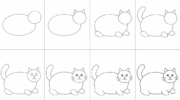
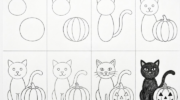
Another way to draw a Warrior Cat in 8 steps